Maytag MVWX700XW User Manual Page 1
Browse online or download User Manual for Washing machines Maytag MVWX700XW. Maytag Mvwx700xw Installation Instructions
- Page / 16
- Table of contents
- BOOKMARKS
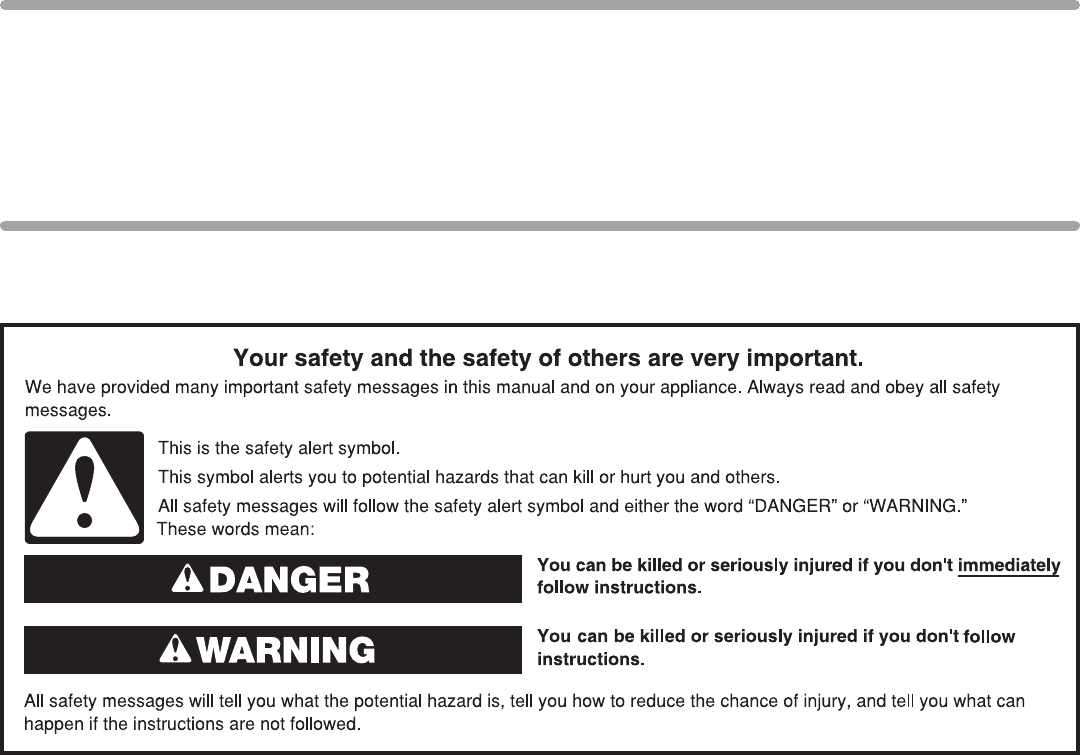
- WASHER SAFETY 1
- LOCATION REQUIREMENTS 2
- INSTALLATION REQUIREMENTS 2
- DRAIN SYSTEM 3
- 1. Move washer 4
- 2. Remove shipping base 4
- 4. Free power cord 5
- 7. Remove drain hose form 6
- 11. Check for leaks 6
- 9. Clear water lines 6
- 13. Check levelness of washer 7
- 14. Adjust leveling feet 7
- 15. Tighten leveling feet 7
- 12. Secure drain hose 7
- SÉCURITÉ DE LA LAVEUSE 9
- EXIGENCES D’INSTALLATION 9
- EXIGENCES D’EMPLACEMENT 10
- SYSTÈME DE VIDANGE 10
- SPÉCIFICATIONS ÉLECTRIQUES 11
- 1. Déplacer la laveuse 12
- RACCORDEMENT DU TUYAU 13
- DE VIDANGE 13
- RACCORDEMENT DES TUYAUX 14
- D’ARRIVÉE D’EAU 14
- ÉTABLISSEMENT DE L’APLOMB 15
- DE LA LAVEUSE 15
- W10240509B 16
- W10240510B-SP 16
Summary of Contents
WASHER INSTALLATION INSTRUCTIONSINSTRUCTIONS POUR L’INSTALLATION DE LA LAVEUSEWASHER SAFETYTable of Contents Table des matiéresWASHER SAFETY ...
1042"(1067 mm)27"(686 mm)271/2"(648 mm)EXIGENCES D’EMPLACEMENTLes dimensions représentent les dégagements recommandés permis, hormis po
11Système de vidange au plancherLe système de vidange au plancher nécessite un ensemble de brise-siphon (pièce numéro 285834), deux ensembles de conne
12INSTRUCTIONS D’INSTALLATION1. Déplacer la laveuse48"(1.2 m)2. Enlever la base d’expéditionAvant de commencer : retirer le matériel d’expédition
13RACCORDEMENT DU TUYAU DE VIDANGE3. Retrait du carton plat de la cuve4. Libérer le cordon d’alimentation5. Fixation du tuyau de vidange à l’orice de
147. Retrait de la bride de retenue pour tuyau de vidange (installations avec vidange au plancher uniquement)8. Raccorder les tuyaux d’arrivée d’eau
15IMPORTANT : L’établissement correct de l’aplomb de la laveuse permet de réduire les nuisances sonores et de limiter les vibrations. 13. Contrôler l
LISTE DE VÉRIFICATION POUR L’ACHÈVEMENT DE L’INSTALLATIONq Consulter les spécications électriques. S’assurer de disposer d’une source d’électricité
2Optional tools:Parts supplied: NOTE: All parts supplied for installation are in cardboard insert in the top of the washer.L
3You will need:n A water heater set to 120° F (49° C).n A grounded electrical outlet located within 4 ft (1.2 m) of power cord on back of washer.n
4INSTALLATION INSTRUCTIONSBefore you start: remove shipping materialsIt is necessary to remove all shipping materials for properoperation and to avoid
5Remove tape from washer lid, open lid and remove cardboard packing tray from tub. Be sure to remove all parts from tray.NOTE: Keep tray in case you n
6Run water for a few seconds through hoses into a laundry tub, drainpipe, or bucket to prevent clogs. Water should run until clear.Attach hot water ho
7Secure drain hose to laundry tub leg, drain standpipe, or inlet hoses for wall standpipe with beaded tie strap.LEVEL WASHERIMPORTANT: Level washer pr
8COMPLETE INSTALLATION CHECKLISTq Check electrical requirements. Be sure you have correct electrical supply and recommended grounding method.q Chec
9SÉCURITÉ DE LA LAVEUSEEXIGENCES D’INSTALLATIONOutillage nécessaire :Pièces fournies :REMARQUE : Toutes les pièces fournies pour l’installation se tro
Related products and manuals for Washing machines Maytag MVWX700XW


 (29 pages)
(107 pages)
(29 pages)
(107 pages)
© 2020, manymanuals.com. All rights reserved. | 0.924 s |
 Manymanuals.com
 Manymanuals.de
 Manymanuals.fr
 Manymanuals.it
 Manymanuals.pl
 Manymanuals.cz
 Manymanuals.es
 Manymanuals-pt.com
Comments to this Manuals