Maytag HARDFOOR CLEANER Owner's Manual
Browse online or download Owner's Manual for Scrubber Maytag HARDFOOR CLEANER. Maytag HARDFOOR CLEANER Owner`s manual [es] [fr] User Manual
- Page / 19
- Table of contents
- TROUBLESHOOTING
- BOOKMARKS
- FloorMate™ 1
- SpinScrub™ 500 1
- Hard Floor Cleaner 1
- Important Safeguards! 2
- Fill in and Save 3
- To contact us: 3
- Contents 3
- Carton Contents 3
- Cleaner Description 4
- Features 4
- Assemble handle 5
- Install brushes and nozzle 5
- Unfold handle 6
- How to fold handle 6
- Transporting 7
- Handle release pedal 7
- ON/OFF switch 7
- General operation 8
- The tanks 9
- To clean filters 11
- How to clean 12
- Picking up spills 13
- Maintenance 14
- Storing the cleaner 14
- Cleaning the brushes 16
- Troubleshooting 17
- Lubrication 18
- Full One Year 19
- Warranty 19
Summary of Contents
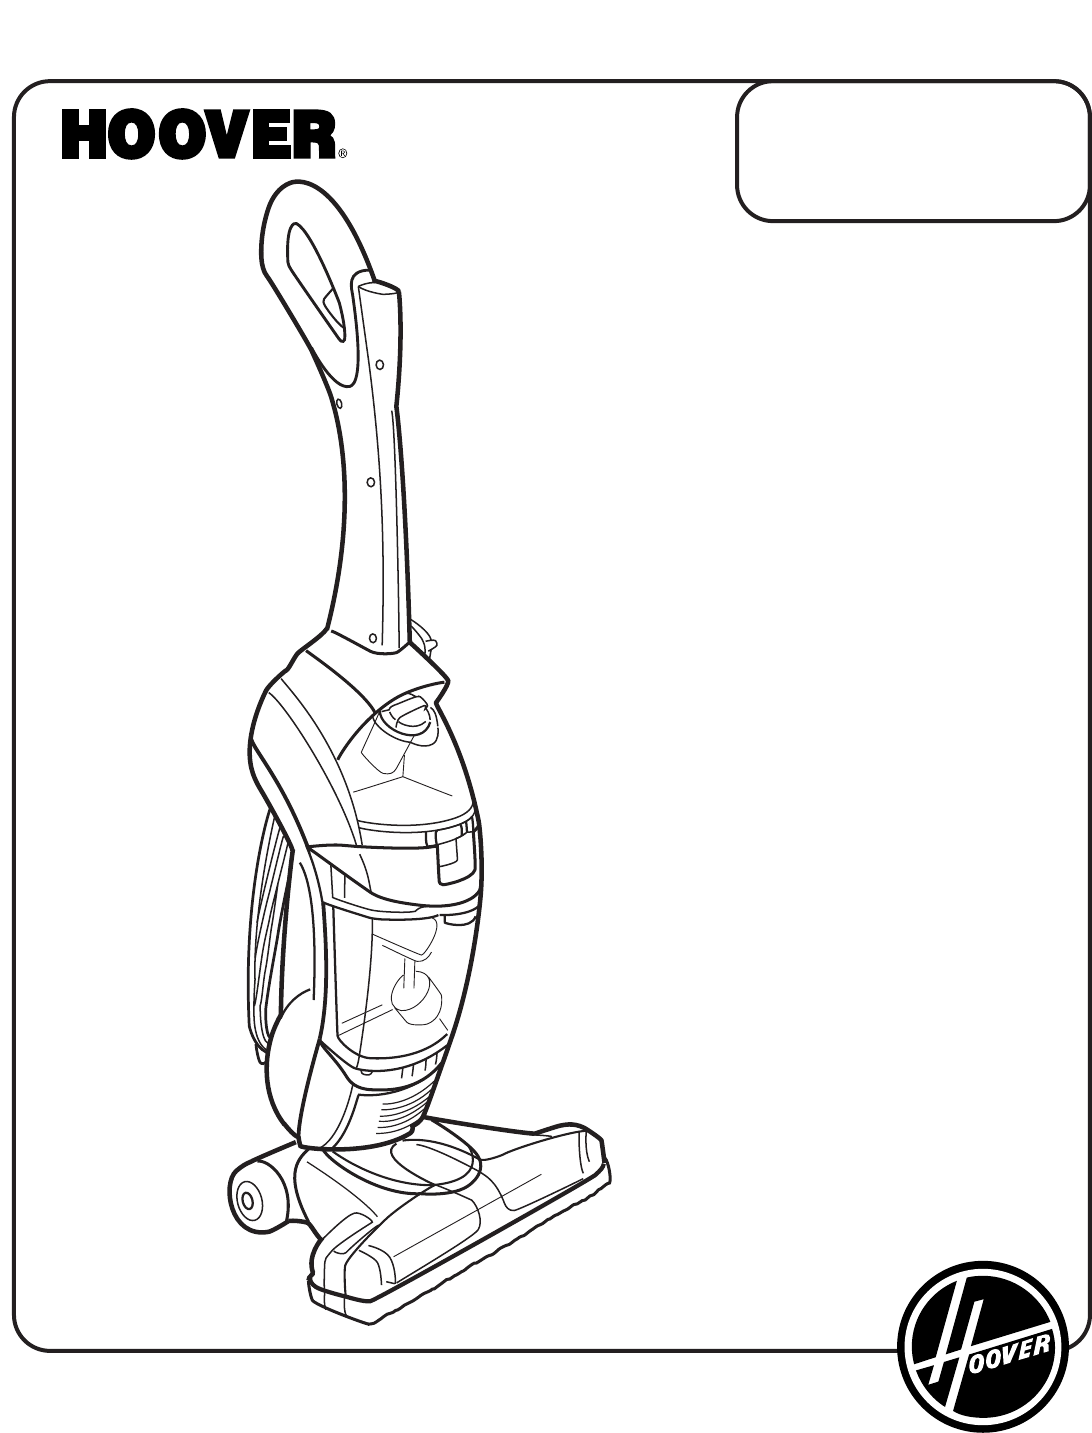
ENGLISH ➜ pp. 1-19ESPAÑOL ➜ pág. 20-31FRANÇAIS ➜ p. 32-43www.hoover.com®FloorMate™SpinScrub™ 500 Hard Floor Cleaner
10Pour cleaning concentrate into tank (B). Fill tank tofill line (C) (1 quart) with warm water.If rubber ring (D) on cap has become dislodged,repositi
Recovery (lower) tankAutomatic shut-offAn automatic suction shut-off is built into the recoverytank to prevent the tank from overflowing.When the shut
Use your HOOVER® FloorMate™ SpinScrub™ 500 Cleaner to:• Dry Vacuum to remove loose dirt, hair and debris.• Wet Clean the floor surface. The brushes wi
NOTE: Your HOOVER® FloorMate™ SpinScrub™ 500 cleaner may be used to clean wood floorsthat have been sealed with a polyurethane coating and can be cle
MaintenanceBefore storing cleaner:Turn cleaner OFF and disconnect from electrical outlet.• Empty and rinse solution and recovery tanks. Allow to air d
To replace nozzle, make sure latches (D) are out.Cleaner should be in the upright position for easier assem-bly of the nozzle.Align middle section (E)
373839Cleaning the brushesThe brush assembly can be removed for easy cleaning.Turn cleaner OFF and disconnect from electrical outlet.Place handle in t
TroubleshootingWhat’s the problem? What to doCleaner won’t run ✓ Make sure the cleaner is plugged in firmly.✓ Check the fuse or breaker.Low suction ✓
18To obtain approved HOOVER service and genuine HOOVER parts, locate the nearest HooverFactory Service Center or Authorized Hoover Warranty Service De
19Full One YearWarranty(Domestic Use)Your HOOVER® appliance is war-ranted in normal household use, inaccordance with the Owner’sManual against origina
2Important Safeguards!When using an electrical appliance, always follow basic precautions, including the following:WARNING:To reduce the risk of fire,
3Fill in and SaveFor your records, enter the model number andserial numbers in the spaces provided. Thesenumbers are located on the data label on the
4Cleaner DescriptionFeatures1. Soft hand grip 12. Nozzle2. ON/OFF switch 13. Squeegee (underneath nozzle)3. Solution trigger: squeeze to release 14.
To install brushes, place handle inupright position. Tilt cleaner back sothat it rests on the floor.Align post (A) on brush block with hole(B) on bott
CCDE68While holding nozzle in place, slide latches inward to lock in place.6Press brush assembly firmly tosnap into place.7To install nozzle, make sur
714The cleaner may also be lifted usingthe carrying handle (A) on the frontof the cleaner.To move your cleaner from room toroom, put handle in upright
815The Mode selector dial (A) turnsthe brushes on and off.Your HOOVER FloorMate™ SpinScrub™ 500 Cleaner can be used to both vacuum dry debris andwet c
17To remove tank, squeeze release buttonand pull tank straight out.18Carry tank to a sink.Rotate tank cap counter-clockwise andlift up to remove cap (
© 2020, manymanuals.com. All rights reserved. | 0.288 s |
 Manymanuals.com
 Manymanuals.de
 Manymanuals.fr
 Manymanuals.it
 Manymanuals.pl
 Manymanuals.cz
 Manymanuals.es
 Manymanuals-pt.com
Comments to this Manuals