Maytag WINSLOW PI40 User Manual
Browse online or download User Manual for Stoves Maytag WINSLOW PI40. Maytag WINSLOW PI40 User's Manual
- Page / 36
- Table of contents
- BOOKMARKS
- Pellet Insert 1
- Model Winslow™ (PI40) 1
- Pellet-Fired 1
- Fireplace Insert 1
- INFORMATION 2
- WARNING 2
- CONGRATULATIONS! 3
- TABLE OF CONTENTS 3
- CAUTION 4
- IMPORTANT 7
- Control Board Installation 8
- INSTALLATION 8
- Insert Leveling 10
- Figure 10 10
- Figure 11A 10
- 32" FIREPLACE OPENING 11
- 18" 11
- 13-1/2" 11
- Pellet Stove Door 12
- Trim Pieces 12
- Re-install Button Head Screws 14
- Brick Panel Installation 15
- Figure 26 15
- Figure 27 15
- Figure 28 15
- Figure 25 15
- Figure 29 16
- TESTING / LISTING 16
- Heat Selector 18
- Figure 35 20
- Figure 36 20
- Blower Duct 22
- Side Door Removal 23
- Figure 41 23
- Figure 42 23
- Draft Adjuster 25
- fireplace width of 36” 28
- Figure 55 31
- Figure 56 31
- Figure 57 31
- Figure 58 31
- Figure 59 32
- Figure 60 32
- Figure 62 32
- Figure 61 32
- Figure 63 33
- Figure 64 34
Summary of Contents
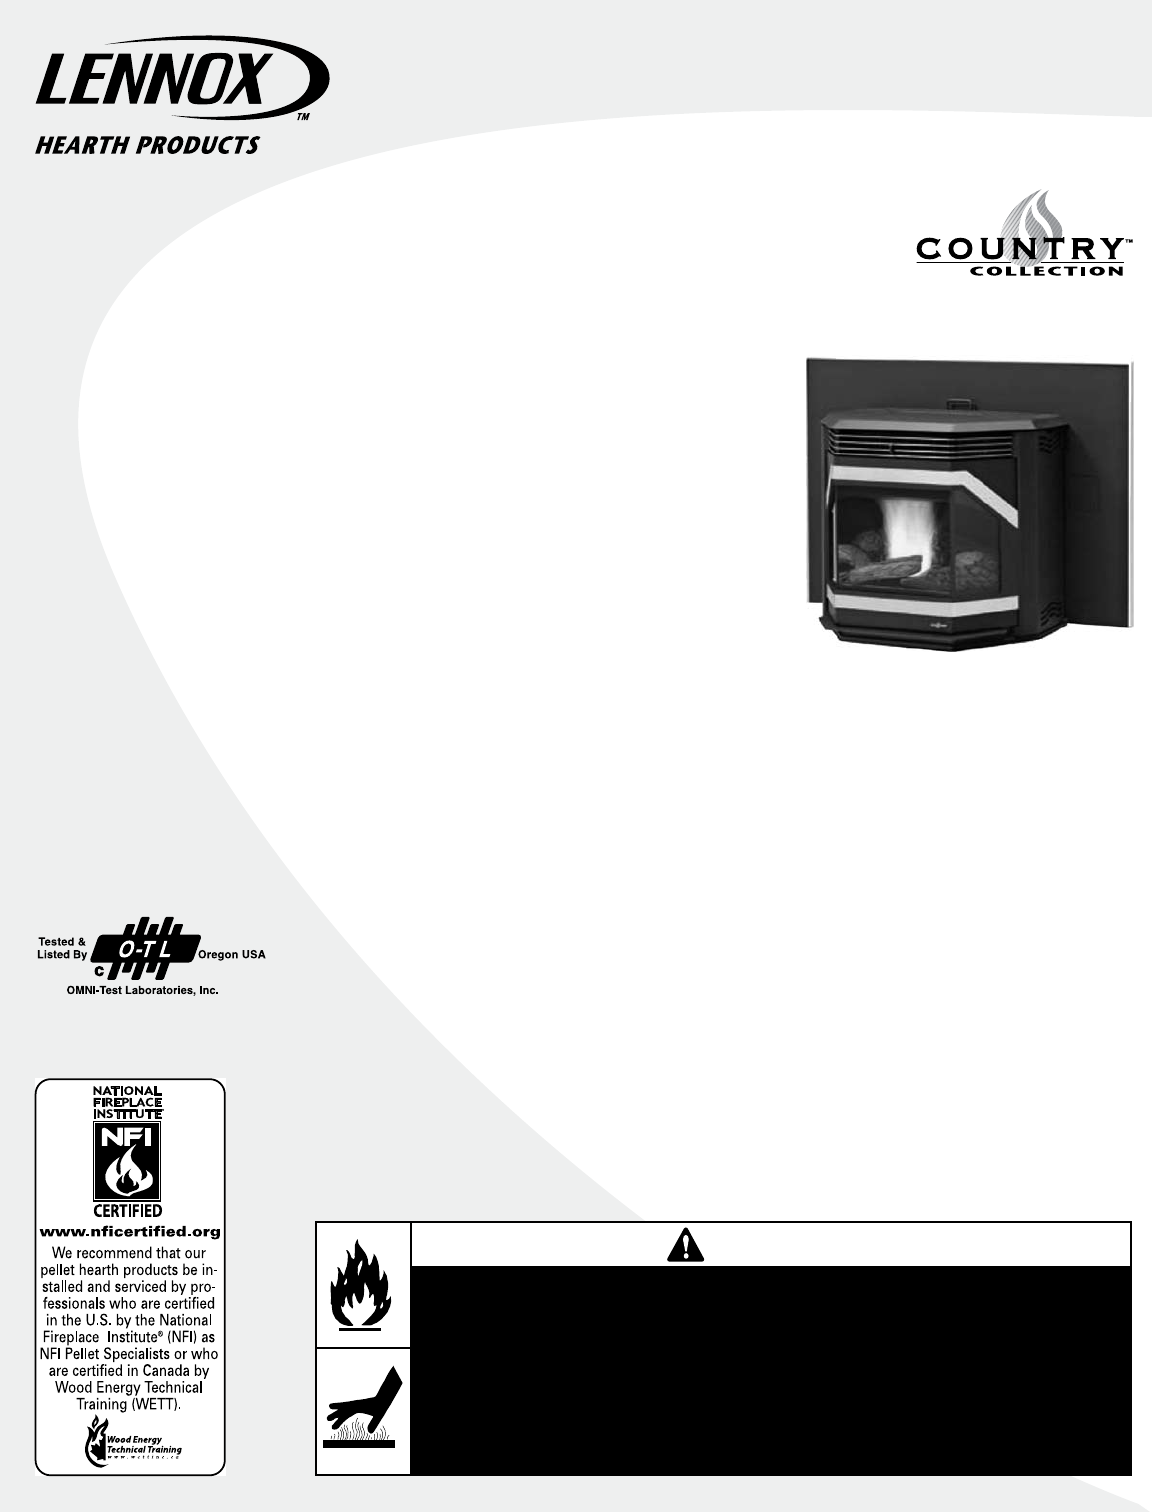
INSTALLATION AND OPERATION MANUALSave These Instructions For Future ReferencePellet InsertModel Winslow™ (PI40)Pellet-Fired Fireplace InsertP/N 775,22
10NOTE: DIAGRAMS & ILLUSTRATIONS ARE NOT TO SCALE.*The block off panel should be air tight to ensure smoke does not enter the house
11NOTE: DIAGRAMS & ILLUSTRATIONS ARE NOT TO SCALE.CapFlashingOutside Air PipeListed Pellet Pipe or Flex LinerStorm CollarFigure 12CONTROL BOARD36
12NOTE: DIAGRAMS & ILLUSTRATIONS ARE NOT TO SCALE.Wiring BlockBARear View of Control BoardDoor Trim Installation InstructionsParts List (A)Qty(2)
13NOTE: DIAGRAMS & ILLUSTRATIONS ARE NOT TO SCALE.Trim studDoor HandleHoles for trim studsTrim Nuts#10 washersTrim PiecesTop of TrimAFigure 15Figu
14NOTE: DIAGRAMS & ILLUSTRATIONS ARE NOT TO SCALE.Door Grill Installation InstructionsParts NeededQty(4) Button Head Screws (already in place in
15NOTE: DIAGRAMS & ILLUSTRATIONS ARE NOT TO SCALE.Note: The brick panel comes pre-painted with Metallic Black paint. The brick panel may be painte
16NOTE: DIAGRAMS & ILLUSTRATIONS ARE NOT TO SCALE.5. Screw in the four tap tights, included with this kit, using a 5/32 allen wrench.6. Replace th
17NOTE: DIAGRAMS & ILLUSTRATIONS ARE NOT TO SCALE.Log Set Installation InstructionsKit Contents(refer to Figure 30)Cat. No. #H5142Qty(1) left lo
18NOTE: DIAGRAMS & ILLUSTRATIONS ARE NOT TO SCALE.Control BoardThe control board regulates all functions of the insert. The following is a list of
19Shut DownNormal - To turn the insert off, turn the heat selector knob to off. The fans will continue to operate until the control board completes th
21. DO NOT CONNECT THIS UNIT TO A CHIMNEY FLUE SERVING ANOTHER APPLIANCE.2. Do not connect this appliance to air ducts or any air distribu-tion system
20NOTE: DIAGRAMS & ILLUSTRATIONS ARE NOT TO SCALE.AUnplug and let the Winslow™ PI40 insert cool before performing any maintenance or cleaning. Som
21NOTE: DIAGRAMS & ILLUSTRATIONS ARE NOT TO SCALE.Cleaning the Combustion BlowerTo clean the combustion blower, unplug the insert from the power s
22NOTE: DIAGRAMS & ILLUSTRATIONS ARE NOT TO SCALE.Blower DuctCleaning the Convection BlowerTo clean the convection blower, remove the left side do
23NOTE: DIAGRAMS & ILLUSTRATIONS ARE NOT TO SCALE.Front Door Opening and RemovalCAUTION: Do not open the front door when the insert is hot. To re
24NOTE: DIAGRAMS & ILLUSTRATIONS ARE NOT TO SCALE.The following is a list of components and their functions.IgniterThe Winslow™ PI40 insert comes
25NOTE: DIAGRAMS & ILLUSTRATIONS ARE NOT TO SCALE.ADraft AdjusterDraft Adjuster The Winslow™ PI40 insert has a draft adjuster located at the right
26If the insert operates abnormally, the ready light on the control board will signal the nature of the abnormal operation. The following is a list of
27Orange Sooty Flames - Glass turns BlackPossible Problem SolutionBurn pot is dirty Clean the burn potVent pipe restricted Clean the vent pipeFlue gas
Surround Panel Kits (required - sold separately)Cat. No. Model Description79004 PI40-FPK2941 29” Ht. x 41” Wd. Black Trim79005 PI40-FPK2948 29” Ht. x
29NOTE: DIAGRAMS & ILLUSTRATIONS ARE NOT TO SCALE.Heat Kit InstructionsKit Contents (Refer to Figure 47)1 ea. 2” lower trim piece (A)1 ea. 1” insu
3CONGRATULATIONS!When you purchased your new pellet stove, you joined the ranks of thousands of individuals whose answer to their home he
30NOTE: DIAGRAMS & ILLUSTRATIONS ARE NOT TO SCALE.Pellet Insert ZC Kit AssemblyKit Contents(refer to Figure 52)1 ea. Back panel (A)1 ea. Left side
31NOTE: DIAGRAMS & ILLUSTRATIONS ARE NOT TO SCALE.4. Installing the standoffs, parts G. There are 3 standoffs on the top panel D (see Figure 57).
32NOTE: DIAGRAMS & ILLUSTRATIONS ARE NOT TO SCALE.6. Installing access panel: Taking the access panel (E in Figure 61) and 4 of the sheet metal sc
33NOTE: DIAGRAMS & ILLUSTRATIONS ARE NOT TO SCALE.ZC Framing Dimensions for Combustible /Floor10-3/8”19-1/2”25-1/2”29-1/2”16-1/8”6-3/4”4”3-1/2”
39”9-1/8”8-1/4”28”16-1/8”10-3/8”19-1/2”25-1/2”4-3/4”3”2-1/2”ZC Framing Dimensions for Non-Combustible Hearth /FloorExhaustTop ViewFront39”9-1/8”8-1/4”
35NOTES
36Your Insert’s Model Number __________________________________________Your Insert’s Serial Number ___________________________________________The Dat
4PLANNING YOUR INSTALLATION WARNING Check all local building and safety codes before installation. The installation instructions and appr
FEATURES AND SPECIFICATIONSWood pellets manufactured to the pellet fuels institute (P.F.I.) certification standard are available in two grades, Standar
6Front ViewFigures 3 and 5 shows the minimum sized fireplace required for the Winslow™ PI40 insert when any of the four non-extended surround
7NOTE: DIAGRAMS & ILLUSTRATIONS ARE NOT TO SCALE.MantelFloor ProtectionCombustible Wall6”(152mm)9-1/2”(241mm)7-1/2”(191mm)10”(254mm)Max.6”(152mm)
8Control Board InstallationThe Winslow PI40 insert is shipped with the control board wrapped and placed behind the firebox. To install the control bo
9NOTE: DIAGRAMS & ILLUSTRATIONS ARE NOT TO SCALE.A = Clearance above grade, veranda, porch, deck, or balcony (min. 12”/30cm)B = Clearance to win
Related products and manuals for Stoves Maytag WINSLOW PI40
 (20 pages)
 (40 pages)
(44 pages)
(44 pages)
(20 pages)
(32 pages)
(40 pages)
(44 pages)
(44 pages)
(20 pages)
(32 pages)
 (6 pages)
© 2020, manymanuals.com. All rights reserved. | 0.734 s |
 Manymanuals.com
 Manymanuals.de
 Manymanuals.fr
 Manymanuals.it
 Manymanuals.pl
 Manymanuals.cz
 Manymanuals.es
 Manymanuals-pt.com
Comments to this Manuals