Maytag UXT5236BDS Installation Guide
Browse online or download Installation Guide for Cooker hoods Maytag UXT5236BDS. Maytag UXT5230BDBW Installation Guide User Manual
- Page / 30
- Table of contents
- BOOKMARKS
- HOTTE D’ASPIRATION DE 1
- IMPORTANT SAFETY INSTRUCTIONS 2
- INSTALLATION REQUIREMENTS 3
- Venting System 4
- Electrical Requirements 5
- INSTALLATION INSTRUCTIONS 6
- 6. Mark and Cut Vent Opening 7
- 7. Drill Electrical Opening 7
- Mounting Tabs 8
- 10. Mount Range Hood 8
- 11. Connect Vent System 9
- 13. Complete the Installation 9
- RANGE HOOD USE 10
- RANGE HOOD CARE 10
- WIRING DIAGRAM 11
- ASSISTANCE OR SERVICE 12
- AVERTISSEMENT 14
- EXIGENCES D’INSTALLATION 16
- Exigences d’emplacement 17
- Circuit d’évacuation 18
- Spécifications électriques 19
- INSTRUCTIONS D’INSTALLATION 20
- 6. Marquage et découpage de 21
- (8,3 x 25,4 cm) 22
- UTILISATION DE LA HOTTE 24
- ENTRETIEN DE LA HOTTE 25
- SCHÉMA DE CÂBLAGE 26
- Au Canada 27
- WHIRLPOOL CORPORATION 28
- Printed in Mexico 30
- Imprimé au Mexique 30
Summary of Contents
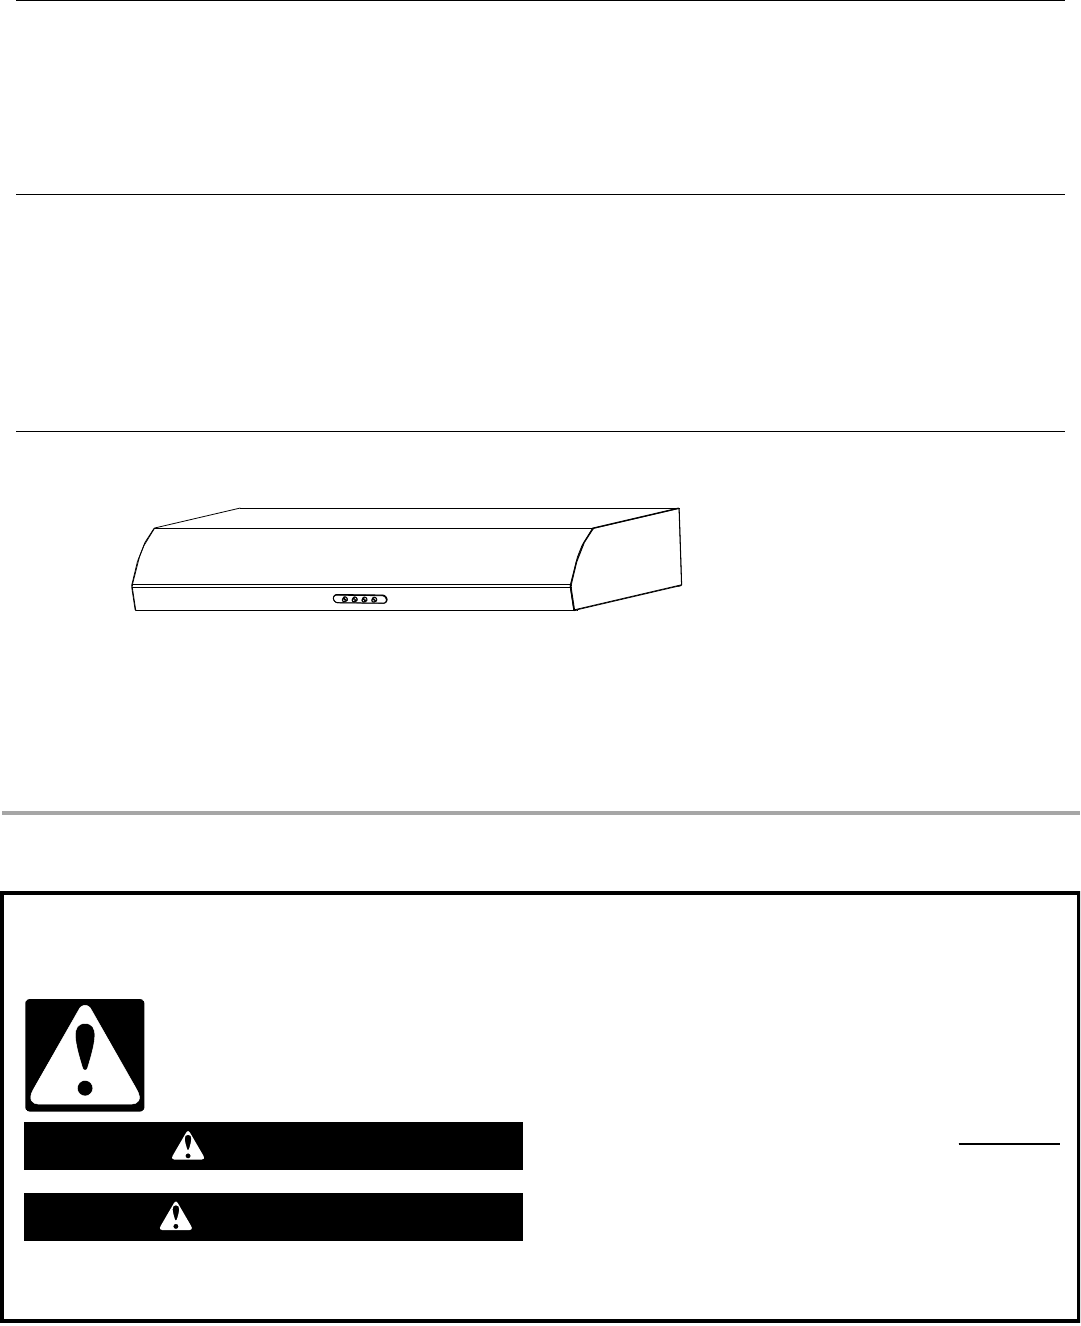
RANGE HOOD SAFETY30" (76.2 CM) AND 36" (91.4 CM) RANGE HOODInstallation Instructions and Use & Care GuideFor questions about features, o
10RANGE HOOD USEThe range hood is designed to remove smoke, cooking vapors and odors from the cooktop area. For best results, start the hood before co
11To Replace the Filter:1. To reinstall the filter, place the back edge of the filter into the channel at the rear of the range hood. 2. Pull the filt
12ASSISTANCE OR SERVICEWhen calling for assistance or service, please know the purchase date and the complete model and serial number of your applianc
137. Costs associated with the removal from your home of your major appliance for repairs. This major appliance is designed to be repaired in the home
14SÉCURITÉ DE LA HOTTE DE CUISINIÈRERisque possible de décès ou de blessure grave si vous ne suivez pas immédiatement les instructions. Risque possibl
15IMPORTANTES INSTRUCTIONS DE SÉCURITÉLIRE ET CONSERVER CES INSTRUCTIONSAVERTISSEMENT : POUR RÉDUIRE LE RISQUE D'INCENDIE, CHOC ÉLECTRIQUE OU DOM
16EXIGENCES D’INSTALLATIONOutillage et piècesRassembler les outils et pièces nécessaires avant d’entreprendre l’installation. Lire et observer les ins
17Exigences d’emplacementIMPORTANT : Observer les dispositions de tous les codes et règlements en vigueur. C'est à l'installateur qu'i
18Circuit d’évacuation Méthodes d’évacuationREMARQUES : L'emploi d’un conduit flexible est déconseillé. Un conduit flexible peut causer une rét
19Calcul de la longueur du circuit d’évacuationPour calculer la longueur effective du circuit d’évacuation nécessaire, additionner les longueurs équiv
2TABLE OF CONTENTSRANGE HOOD SAFETY ...1INSTALLATION REQUIREMENTS...
20INSTRUCTIONS D’INSTALLATIONREMARQUES : Selon le modèle, déterminer la méthode d’évacuation à utiliser : décharge à travers le mur ou le toit, ou r
215. Marquage de l'emplacement des trous Soulever la hotte et la mettre en place, et insérer les pattes des brides de montage dans les fentes sit
227. Perçage des ouvertures des câbles électriquesÀ l’aide d'un foret de 1¹⁄₄" (3 cm), percer le trou à l'emplacement du serre-câble ma
23REMARQUE : Un clapet anti-reflux circulaire de 7" (17,8 cm) (A), (pièce numéro W10355451), ainsi qu'une plaque de montage de conduit circu
2413. Achever l'installation Réinstaller les 2 panneaux inférieurs.- Positionner le panneau avec les petites languettes vers l'avant de la
25ENTRETIEN DE LA HOTTENettoyageIMPORTANT : Nettoyer fréquemment la hotte et les filtres à graisse en suivant les instructions suivantes. Réinstaller
26SCHÉMA DE CÂBLAGESE119ATerreVis de liaison à la terreMS15BL (Commun)N (Ligne)N (Ligne)JA (Lampe)GRIS (Vitesse 3)R (Vitesse 2)MAR (Vitesse 1)Boutons-
27ASSISTANCE OU SERVICELors d’un appel pour assistance ou service, veuillez connaître la date d’achat, le numéro de modèle et le numéro de série compl
28GARANTIE DE GROS APPAREIL MÉNAGER WHIRLPOOL CORPORATIONGARANTIE LIMITÉE DE UN ANPendant un an à compter de la date d’achat, lorsque ce gros appareil
29 Si vous résidez à l'extérieur des 50 États des États-Unis et du Canada, contactez votre marchand Whirlpool autorisé pour déterminer si une aut
3INSTALLATION REQUIREMENTSTools and PartsGather the required tools and parts before starting installation. Read and follow the instructions provided w
W10646405B®/™ ©2014. Used under license in Canada. All rights reserved.Utilisé sous licence au Canada. Tous droits réservés.1/14Printed in MexicoImpri
4Product DimensionsInstallation ClearancesVenting System Venting MethodsNOTES: Flexible vent is not recommended. Flexible vent creates both back pre
5For the most efficient and quiet operation: Use no more than three 90° elbows. Make sure there is a minimum of 24" (61 cm) of straight vent be
6INSTALLATION INSTRUCTIONSNOTES: Depending on your model, determine which venting method to use: roof, wall or non-vented (recirculating). It is r
7Hold the range hood firmly in place with one hand and bend each mounting tab (A) upward approximately 90°.Mark the hole at the power supply knockout
88. Prepare Range Hood Vents and Mounting Tabs Install Strain ReliefInstall a UL Listed/CSA Approved ¹⁄₂" (13 mm) strain relief (A). Mounting T
9 Tighten the strain relief screws.NOTE: Do not reconnect power until the installation is complete.OPTIONAL: If you prefer, bend the rear tabs agains
More documents for Cooker hoods Maytag UXT5236BDS

Related products and manuals for Cooker hoods Maytag UXT5236BDS

 (32 pages)
(24 pages)
(28 pages)
(28 pages)
(32 pages)
(24 pages)
(28 pages)
(28 pages)
© 2020, manymanuals.com. All rights reserved. | 0.871 s |
 Manymanuals.com
 Manymanuals.de
 Manymanuals.fr
 Manymanuals.it
 Manymanuals.pl
 Manymanuals.cz
 Manymanuals.es
 Manymanuals-pt.com
Comments to this Manuals